Continued from part one
Improving the starter / solenoid wiring
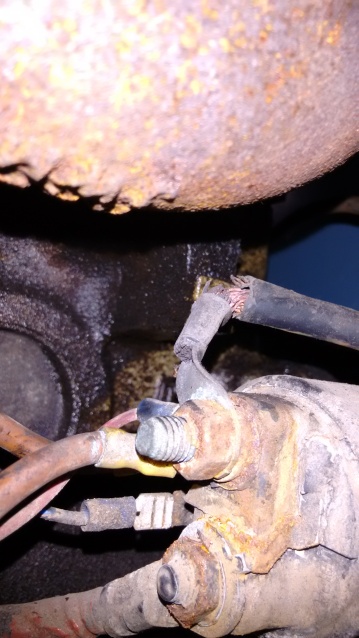
As mentioned before, the terminal on the starter was loose, rusty and caked in mud. As well as cleaning up I decided to move as much as I could to the relatively sumptuous surroundings of the seat-box, with the battery.
Reminder of how it was:
With my new wiring layout we now have just one connection on the main post of the cleaned up starter:
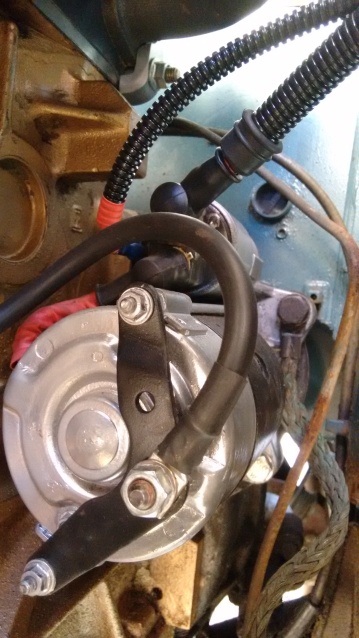
For this cable I used 25mm² stranded copper wire in convoluted flexible conduit with rubber exit seals. Due to the new cable run and not ordering quite enough red/white for my preferred route, the start signal wire has its own conduit. It’s all sealed nicely though. I also made up a new cable to bond earth from the starter casing to the engine block (black cable in foreground).
I have opened up one of the previously blank bulkead grommets on the nearside so wherever possible any cabling from the dash to this side will exit appropriately rather than run over or around the engine. Eventually I will tidy what’s left on the driver side and fix it up out of harm’s way. There are currently many unprotected wires dangling around there. The main starter cable goes down to the chassis where it’s fixed in place with the nylon cable-tie-mounts, runs under the passenger floor and into the seat box via water-proof glands. They enter the seat box close to the gearbox tunnel.
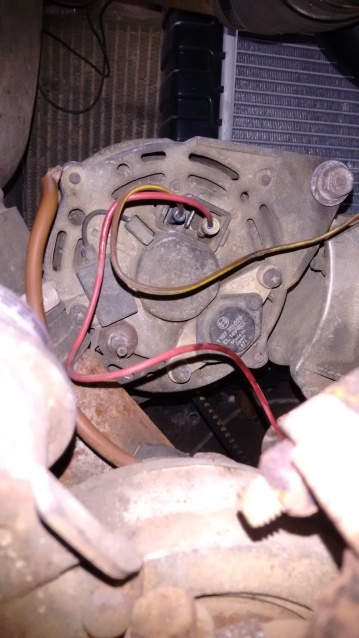
Alternator cable
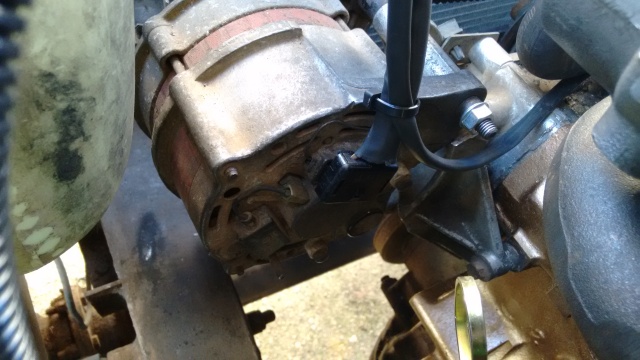
Not so happy with this cable run, but loads better than it was. Incorporated in this lead is the wire to the temperature sensor:
Before:
After:
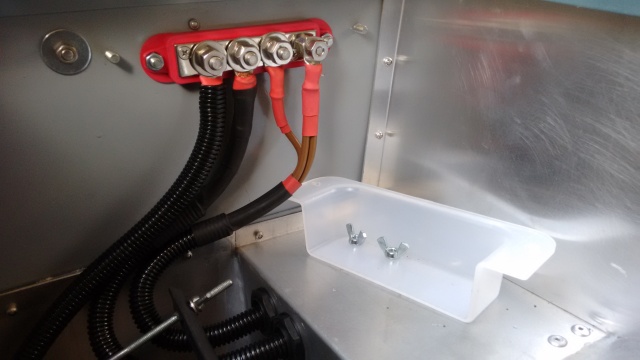
Heavy duty busbar in seat box
I bought this from Vehicle Wiring Products and although there is a potentially silly design flaw with it (ideally a piece of insulating material would be fitted behind it), overall it does the job very well. It’s nicely machined and I have no worries that it can handle the current with ease and the increased cable size and meaty connectors will more than compensate for any volt drop due to the slightly increased cable length. The seat-box is sealed with silicon so I think it is a far better place for these vital connections, certainly it’s away from mud and water here. The optional extra insulating cover was a must, here it is removed for the photo. The twin browns come in from the alternator, and the single brown goes to the dash (terminating in the home-made crimp and solder connection). The left red goes to the battery, and the second left to the starter. Earth connection is by way of a threaded post from where it bonds to the chassis and gearbox.
More general view, with battery loose-fitted:
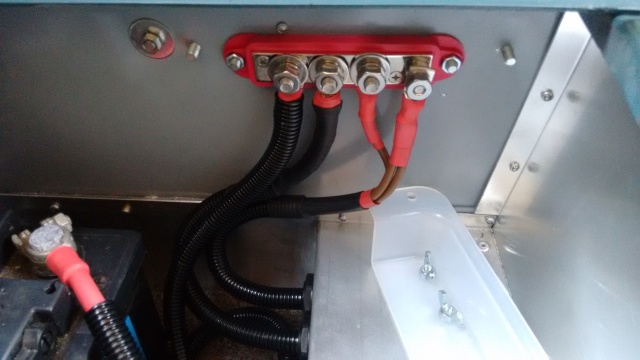 In the bottom of the seat box is an off-cut of ‘Flotex’ carpet to help reduce noise and vibration to the battery.
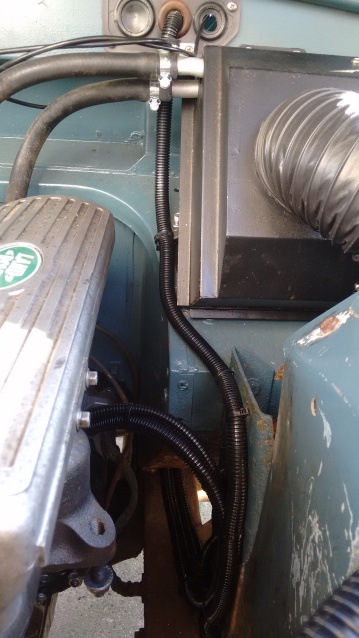
Here we see the first of two conduit runs on this side of the engine bay. I am adding another for windscreen washer and heater cables that will exit from the right-hand grommet.
Unfortunately, all this work has left a familiar sight at the other end!
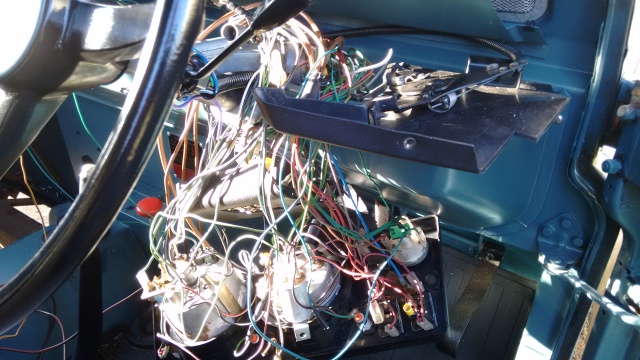
The wiring is so bad, I doubt it will ever be completely finished but a couple of hours will have this looking reasonable again in my next session.
Thanks for reading and there will be more very soon…

Good grief Nige – with all this heavy duty wiring you are gonna need a bigger engine in that Land Rover x
LikeLike
🙂 Thanks Mog x
LikeLike
Fantastic job Nigel. I’m really envious. It looks so much neater and less likely to give electrical gremlins.
LikeLike
Thanks Ian, I’ve probably wasted too much time on this but hopefully it will last.
LikeLike