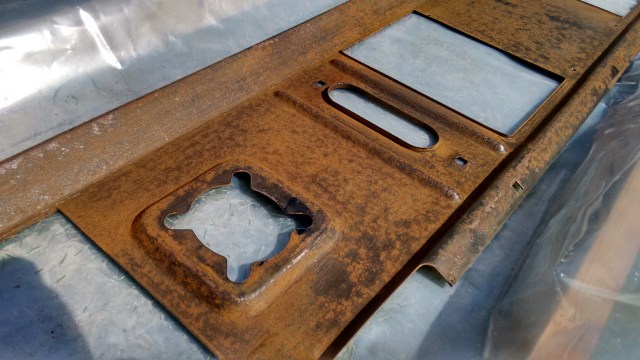
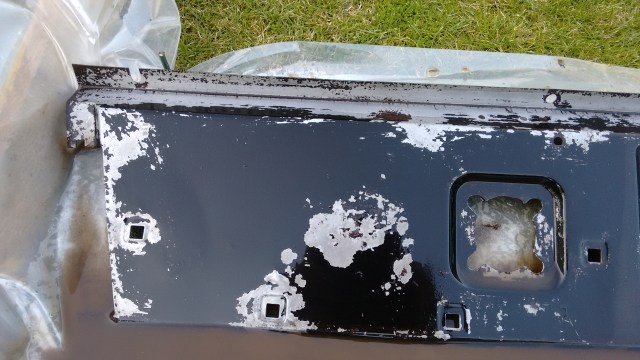
On removing the two parts of the upper dash and finding a thick layer of rust on the upright back panel I thought I’d try white vinegar to remove the rust as I’d read a few accounts about it. I normally grind, wire brush, file, sand etc and have tried various expensive rust removing gels with varying results.
If you have an Aldi store close by I understand they sell large amounts of the stuff very cheaply, but as the upcoming Aldi store here is still a building site I will have to wait, so ordered 10 litres of the stuff from Amazon.
I had gone down with a summer cold and feeling a bit grotty, but having looked forward all week to my Land Rover afternoon I was determined to get outside, especially as it was such a lovely day.
I constructed a bath on the lawn from some bits of wood, wire stakes and a sheet of polythene. I understand that vinegar also makes a good weed-killer so I was careful to check for leaks as my lawn suffers enough.
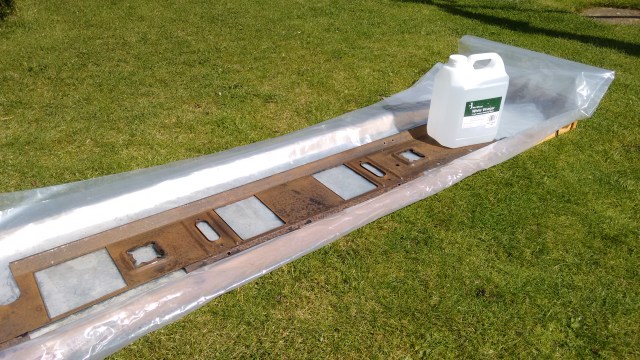
Unfortunately, not long after submersing the panel I was called away on an urgent errand involving a swimming bag left in my car and an irate ‘ex’. Enough to say that the stress of it made my mild head cold turn into full-blown man-flu and I returned with a raging headache, aching bones and a feeling of doom…. Did Sir Alexander Fleming have to cope with such interruptions? Who knows, but this particular experiment had somehow lost its scientific credibility.
Use gloves!
I know it’s only vinegar but I found the stuff gets into any cuts on fingers and stings, so next time I will definitely wear gloves.
So, a few hours later, the sun had gone in and it was much cooler…
Conclusion
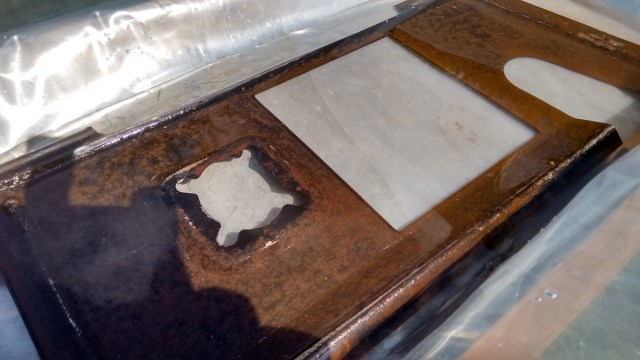
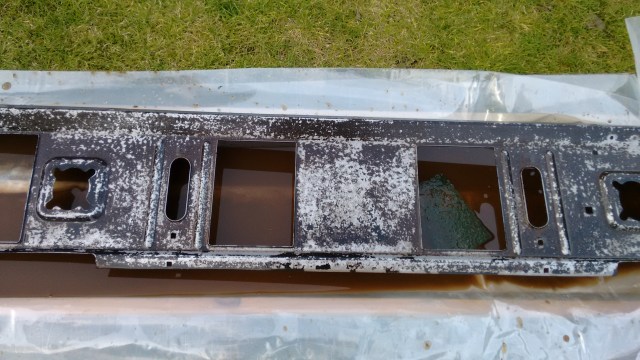
Well, it’s obvious that this vinegar solution works, in that it does remove rust, but even with a shallow depth, for a panel this size it took 3 litres of vinegar (and 3 of water). I was able to get on with other things (below) while it was soaking and there was hardly any physical effort. For me, the greatest advantage was the absence of dust.
I will definitely use the vinegar method again but I think it’s better suited to small components that can be submerged in a bucket.
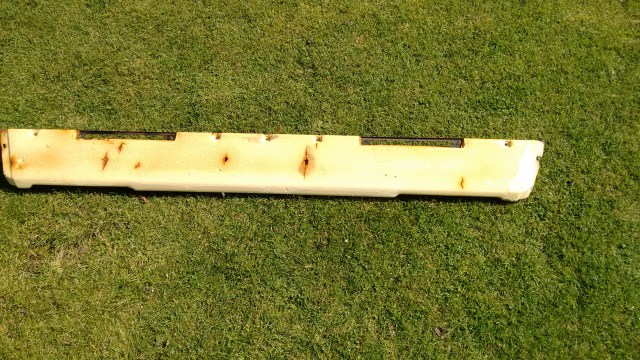
Upper ‘Shelf’ Panel
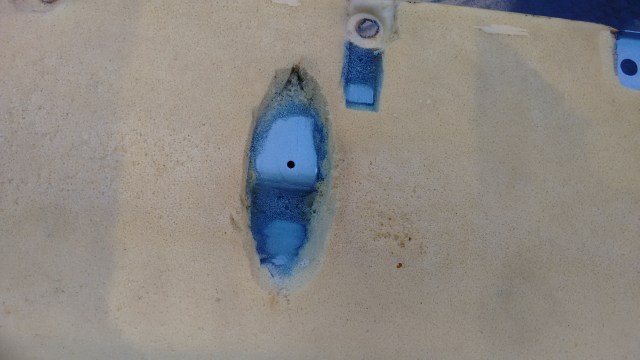
I used a heat gun to remove the old vinyl and it came away quite easily. With hindsight it would have been better to heat it more, almost to the point of scorching the foam, but not quite. As the vinyl pulled away it removed the adhesive which left a slightly powdery surface to the foam. I plan to seal this with thinned down PVA otherwise the new stuff won’t stick.
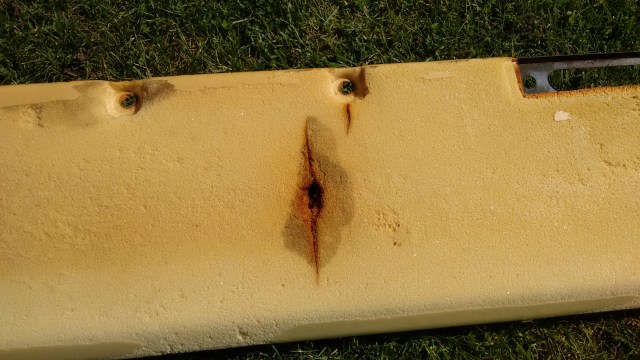
Foam and rust reaction
As mentioned previously the splits in the foam and vinyl are caused by the foam disintegrating where it has been in contact with rust. It seems to have penetrated the foam and broken down into a powdery mess so I thought I’d clean out all of the rust.
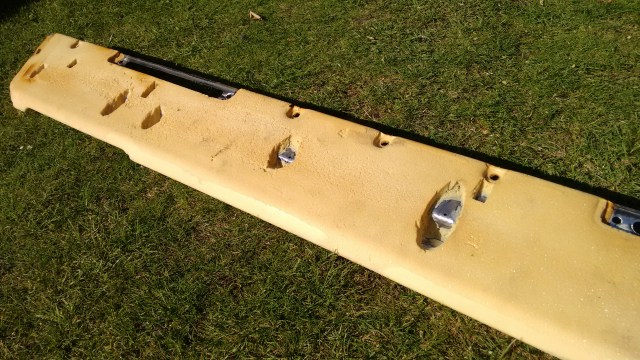
Unfortunately, that was it for my day, I’m disappointed after looking forward to it all week, very little progress. The next stage will be to fill the holes with expanding foam and cut it to shape. Then seal it with several coats of thinned PVA (Unibond) before finally recovering with vinyl. Also prime and paint the back panel.
Next week I have a gig so there’ll be even less time available and as the MOT is coming up I may have to veer off and sort out some more important jobs like replacing the exhaust. Still, it’s all good fun!
Thanks for reading, back soon….

Great experiment and wow good results too! Agreed, seems a bit impractical for large items but I shall also give thi a try on smaller items. Thanks for posting. PS. Your foam was in a better state than mine.
LikeLike
Very impressed with the outcome with vinegar!
Is that regular White Vinegar, like … food grade stuff from the supermarket or the “distilled” part is the trick?
LikeLike
Just normal white vinegar. Once finished with you can spray it on the drive to kill weeds!
LikeLike